Removing Screws

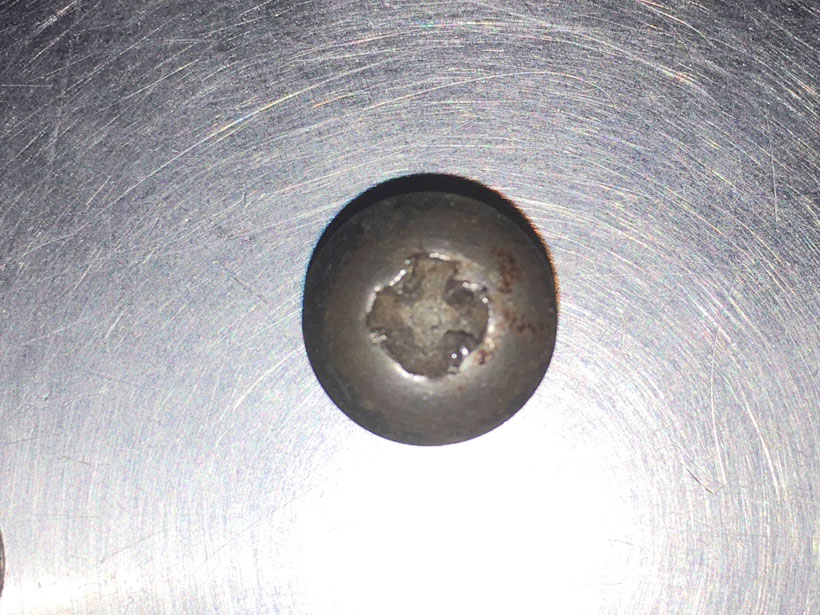
Fuuuu
Fortunately there’s methods for getting these suckers out. Below are a few options to try if you run into a screw that just won’t come out.
Method 1: Try a different screwdriver
Seriously. Not all screw heads are created equal. Try grabbing a different screwdriver with a larger or more shallow head.
You also want to toss the power drill aside if you’ve been using it to remove screws. The speed of the drill will increase your chances of stripping, plus you’ll get more torque using your hands and a screwdriver.
Method 2: Pliers
If the head of the screw is stripped, grab a pair of screw extracting pliers and try to manually turn the head of the screw. Hopefully you can loosen it enough to manually turn it the rest of the way out.
Method 3: Tap tap tap
There’s a chance corrosion buildup has caused the screw to become stuck to the pad. Use a hammer to tap the end of a screwdriver on the screw.
If you have a drill with an impact driver you can give that a shot too.
Method 4: Rubber band
Grab a rubber band and cut it so you end up with a strip of rubber. Stretch the rubber band over the screw, insert your screwdriver and turn. The rubber will help will help give extra grip.
Method 5: Remove corrosion
If there’s rust buildup around the screw, it’ll be much easier to take out if you can get rid of the corrosion.
Grab some WD-40 and saturate the screw head with liquid and let it sit for a few moments. Tap the head of the screw with a screwdriver to create vibrations which help the liquid work it’s way down the threads. Try to unscrew and remove the screw. If it’s still stuck, add a second application and try to remove the screw again.
Method 6: Use a screw extractor
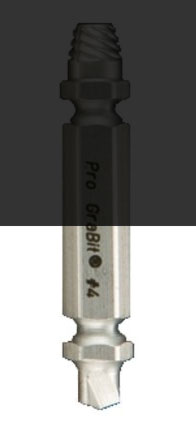
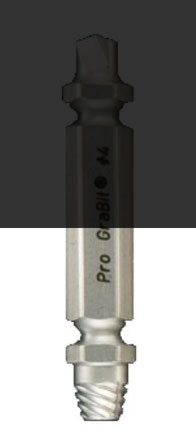
A screw extractor kit will create a new hole in the screw. The same bit, when flipped, can be used to remove the screw.
The screw will be useless after this is performed, so make sure you have replacement screws ready.
Make sure your drill is set to reverse for both steps. Attach the drill bit with the impact side of the bit facing out. This will make a new hole in the screw.

With firm pressure, drill into the screw. Apply force directly vertical to the screwdriver; any angling can cause the hole not to form properly. The extraction process should be done slowly and carefully because the extraction process is more fragile than the normal insertion of a screw.
Flip the drill bit with the extractor side of the bit facing out. Using low speed (again, with the drill in reverse) remove the screw.

Start with the smallest size of extractor bit that comes with the kit. You may run into issues where the extractor will not “catch” on the new hole, and the screw won’t remove. If the smallest size fails, try again with the next size up. This is most commonly due to the new hole being drilled at an angle; check your posture and try again.
Method 7: Relief cut
If you own a Dremel with a cutting wheel, you can cut a new slat into the screw and remove it with a flathead screwdriver.

0