Countersinking

Have a nice trip, see you next fall.
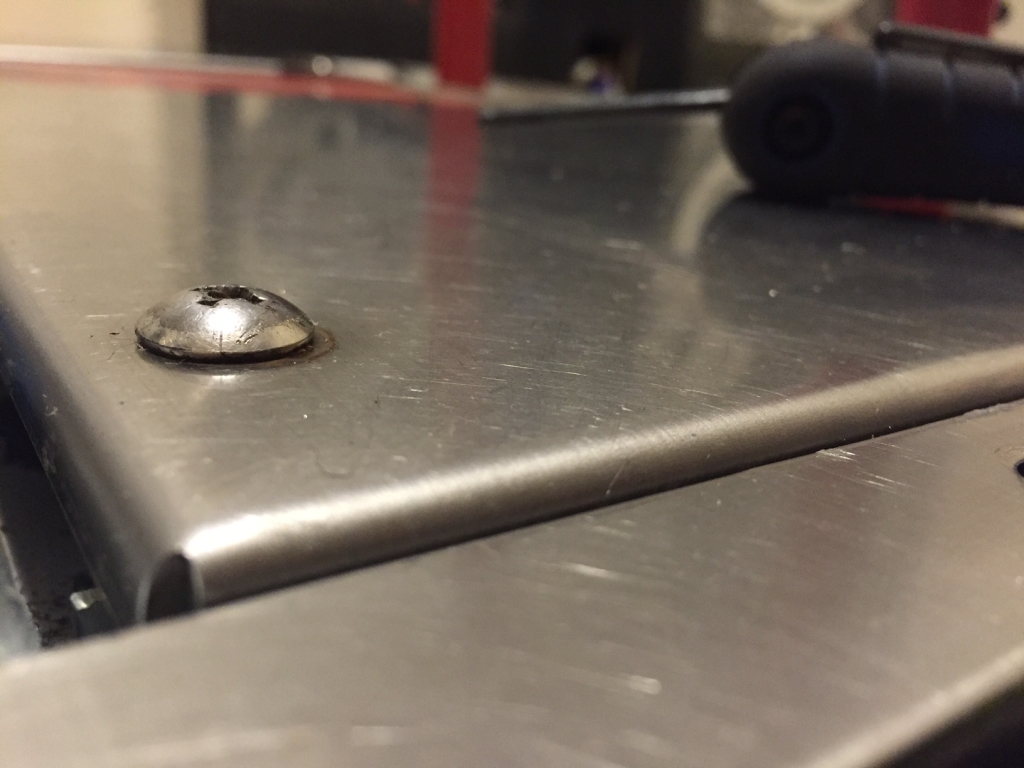
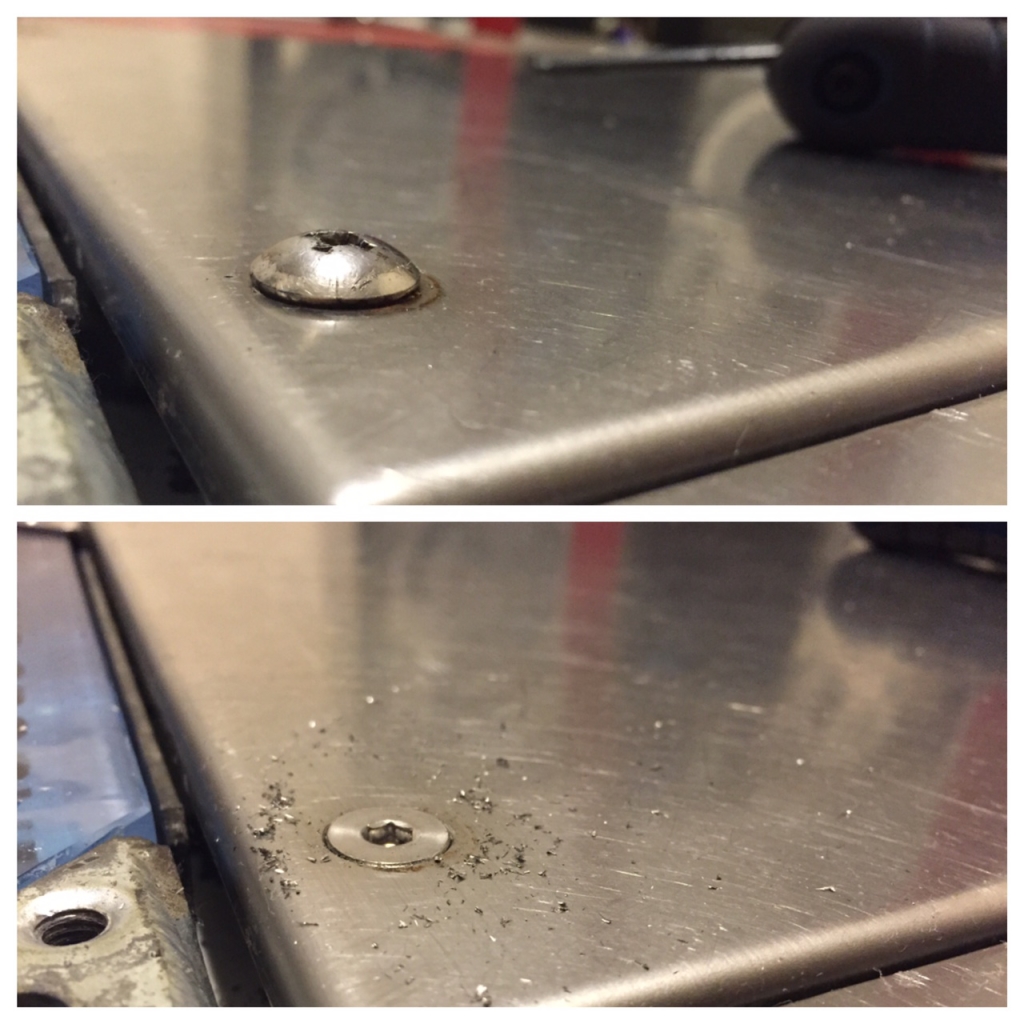
What you want is screws with a smooth head (called countersink screws) which sit flush with brackets/panels so your feet glide right over them.

Before and after countersinking. Much better.
Project Breakdown
Cost: $40
Time: 3 hours
Skill level: Low
What You Need
3x M6 x 12mm countersink screw (50 pack)
3 x Countersink drill bit (these tend to dull so I recommend ordering extras)
Power drill (Note: Do not use a high-speed drill. This kills the countersink.)
Step 1: Remove the existing screws
Take all the screws out you want to countersink. You really only need to do the corner braces and panels where your feet touch, though for aesthetic purposes I opted to do the whole pad.
If you run into issues with stripped screws, see how to remove screws to get those guys out.
Step 2: Drill baby drill
Attach the countersink bit to your drill. You don’t need to use much speed here. My drill is variable speed and I had it set to “8”.

Using firm and even pressure, begin to drill into the hole. You’ll want to slightly angle the drill bit in a circular motion as you countersink.
Here’s a great YouTube video which shows the process. This guy gives some good tips on how to control the countersink bit as you drill. I went through about 3 countersink blades while doing this since they seem to dull fairly easily.
https://www.youtube.com/watch?v=cRPWMNJWwH8
Step 3: Screw in the new screws
Once the hole is countersunk, test the new screw to make sure it fits. If it doesn’t, countersink further to get the right fit.
I would recommend always using a handheld screwdriver to add and remove screws. Power drills, while quick, can end up stripping your new screws. I also found when using a drill to drill the screw in, the threads would catch the countersink at an angle and not go in properly.
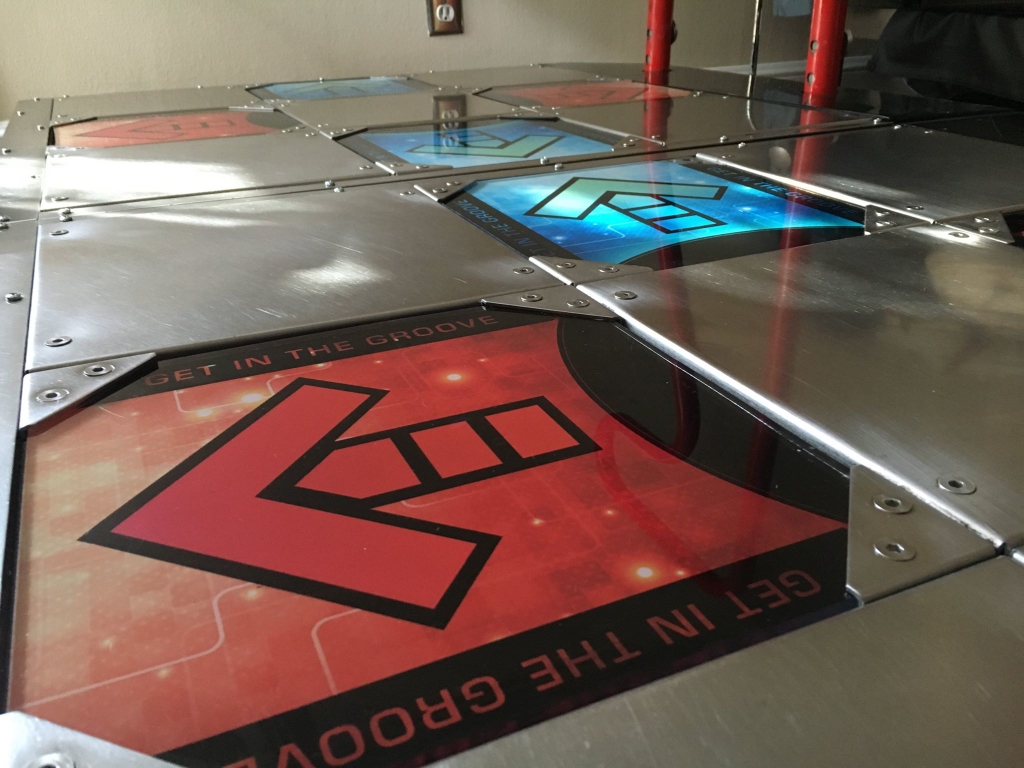
By now you should have something like this. Enjoy!

Flushhhhhhh.

0